Sub-Zero and Wolf's Ultimate Turkey Cooking Guide: Perfect Your Feast
The holiday season is a time for gathering with loved ones, sharing delicious meals, and of course, cooking up the perfect turkey. If you're aiming to take your turkey game to the next level, there's no better way to do it than with Sub-Zero and Wolf—a brand known for precision, reliability, and creating an unforgettable culinary experience. Whether you're a novice or a seasoned home cook, these high-end appliances can make your turkey cook more evenly, stay juicier, and give you that golden-brown crisp you've always dreamed of.
The holiday season is a time for gathering with loved ones, sharing delicious meals, and of course, cooking up the perfect turkey. If you're aiming to take your turkey game to the next level, there's no better way to do it than with Sub-Zero and Wolf—a brand known for precision, reliability, and creating an unforgettable culinary experience. Whether you're a novice or a seasoned home cook, these high-end appliances can make your turkey cook more evenly, stay juicier, and give you that golden-brown crisp you've always dreamed of. In this guide, we’ll walk you through how to cook the perfect turkey using Sub-Zero refrigeration and Wolf cooking appliances, ensuring a tender, flavorful bird that will wow your guests.
Why Sub-Zero and Wolf?
Sub-Zero Refrigeration:
Properly storing and prepping your turkey is key. Sub-Zero refrigerators provide the ideal environment to keep your turkey fresh and at the perfect temperature, whether you're thawing a frozen bird or storing a brined one. The precise temperature control ensures food safety and optimum freshness.
Wolf Cooking Appliances:
Wolf ranges, ovens, and grills are designed to give you professional-level control over your cooking, whether you’re roasting, baking, or grilling. With features like dual convection fans for even heat distribution and high-powered burners, you can cook your turkey to perfection every time.
Step-by-Step Turkey Cooking Guide with Sub-Zero and Wolf
1. Choose the Right Turkey
Start with the best bird you can find. Whether you opt for a fresh or frozen turkey, the quality of your turkey plays a huge role in the final result. When shopping for your turkey:
Fresh vs. Frozen: If you’re going with a frozen turkey, ensure you give it plenty of time to thaw in your Sub-Zero refrigerator (about 24 hours for every 4-5 pounds). Sub-Zero's precise temperature control ensures that the turkey thaws safely and evenly.
Size Consideration: For a family feast, aim for about 1 to 1.5 pounds per person. Keep in mind that larger birds (over 14 pounds) may take longer to cook.
Sub-Zero and Wolf
2. Prep Your Turkey for Roasting
Once your turkey is fully thawed (or if you’ve bought a fresh one), it’s time to prep.
Dry Brining: For a moist and flavorful turkey, consider dry brining. Sub-Zero refrigerators are perfect for this step, allowing you to store your brined turkey in a controlled environment for up to 24 hours without worrying about temperature fluctuations.
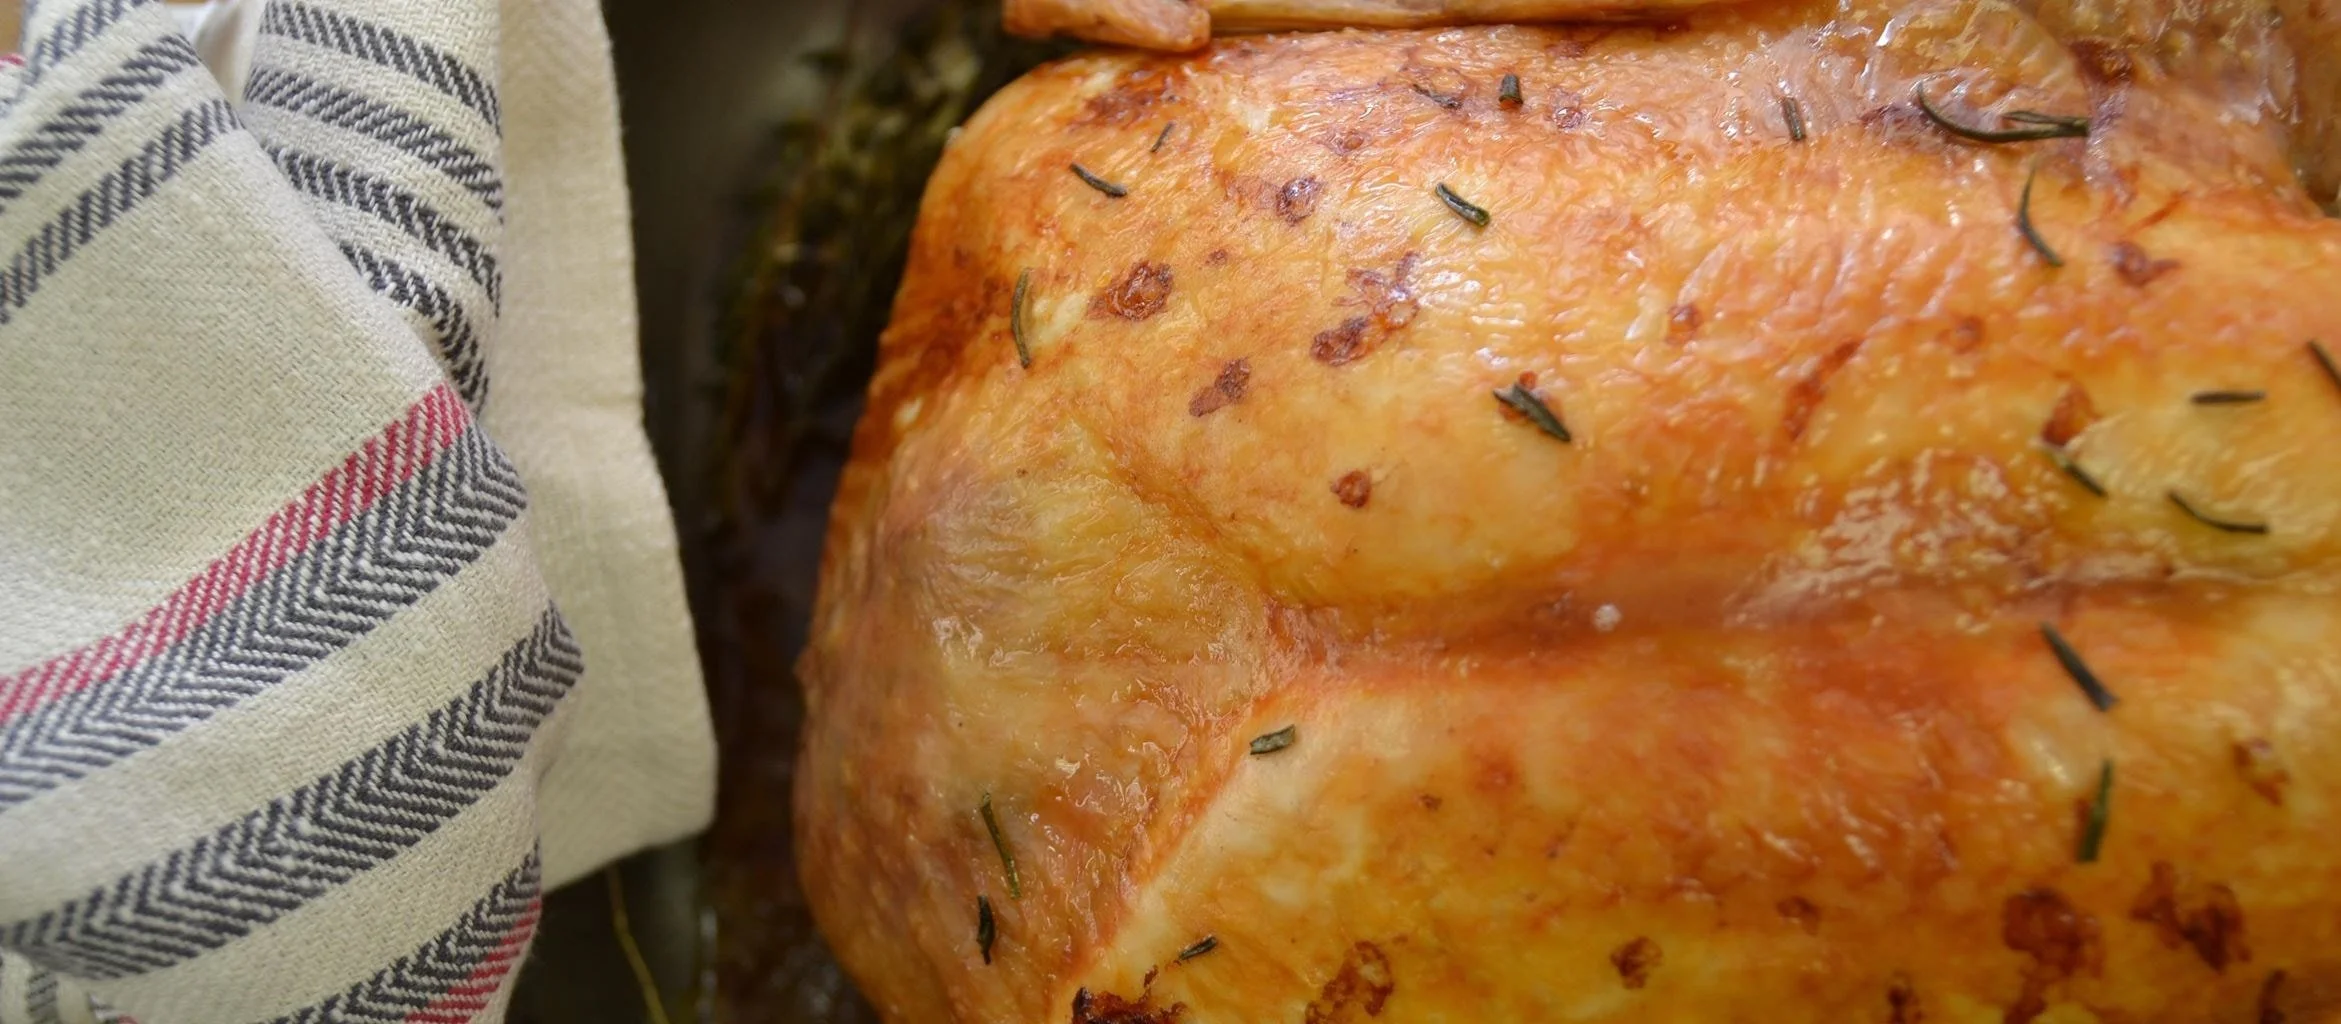
Butter and Herbs: For an ultra-crisp skin and delicious flavor, massage your turkey with butter or olive oil and season generously with herbs, garlic, salt, and pepper. Add aromatics like onion, citrus, or herbs inside the cavity for added flavor.
Trussing: Tie the legs with kitchen twine and tuck the wings under the bird to ensure even cooking.
Sub-Zero and Wolf
3. Preheat Your Wolf Oven
The key to a perfect turkey is evenly distributed heat. Wolf ovens are equipped with dual convection fans, which circulate hot air throughout the oven for uniform cooking and browning.
Preheat to 325°F (165°C): The general rule of thumb for roasting turkey is 325°F. Wolf’s convection ovens will help maintain this consistent temperature.
Roast or Convection Roast?: If you have a Wolf Convection oven, consider using the "Convection Roast" setting. This setting uses a combination of heated air and circulating fans to cook the turkey more efficiently while preserving moisture.
4. Roasting the Turkey
Once your oven is preheated, it’s time to roast the turkey. Here’s how:
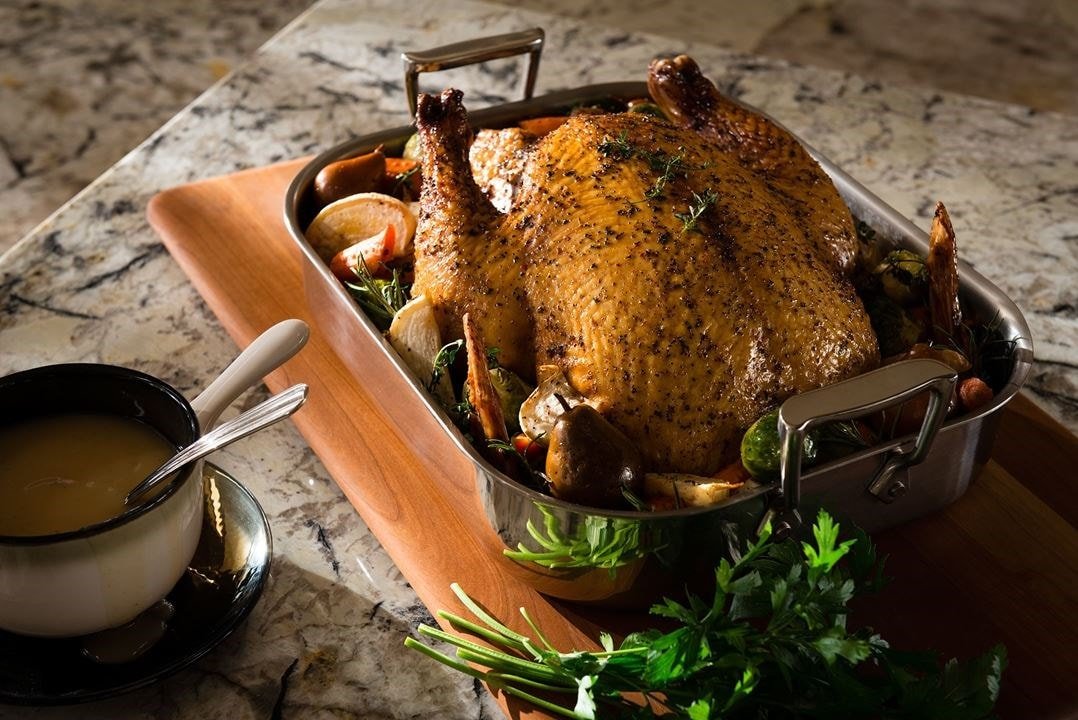
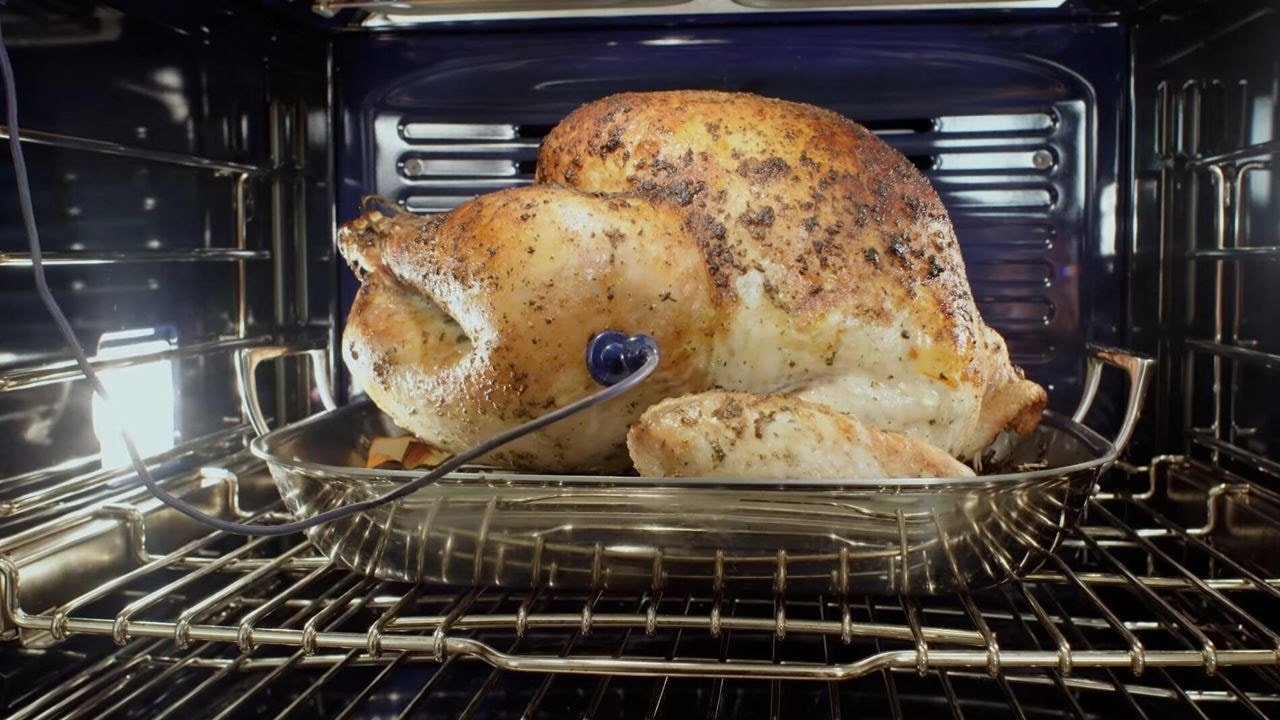
Positioning: Place your turkey breast-side up on a roasting rack set inside a heavy roasting pan. This allows the heat to circulate all around the bird for even cooking. Avoid covering the turkey with foil unless you want to slow down the browning process.
Cooking Time: Roasting times will vary based on your turkey's weight, but the general rule is about 13 minutes per pound at 325°F for an unstuffed turkey.
8-12 pounds: 2.5 to 3 hours
12-14 pounds: 3 to 3.75 hours
14-18 pounds: 3.75 to 4.25 hours
18-20 pounds: 4.25 to 4.5 hours
Basting (Optional): While many people swear by basting the turkey every 30 minutes, it’s not always necessary with the Wolf convection oven. The circulating air ensures even browning without needing to open the oven frequently. If you do decide to baste, do so quickly to avoid heat loss.
Sub-Zero and Wolf
5. Monitor the Internal Temperature
The most important part of cooking your turkey is ensuring it reaches the right internal temperature.
Turkey Temp: The USDA recommends cooking turkey to an internal temperature of 165°F (74°C) in the thickest part of the breast and dark meat (thigh) to 175°F (79°C) for a juicy, tender result.
Thermometer: For precise monitoring, use an instant-read thermometer. Wolf’s ovens often have a built-in temperature probe that can alert you when your turkey has reached the desired temperature, so you don’t need to worry about overcooking.
Sub-Zero and Wolf
6. Rest Before Carving
Once your turkey reaches the correct internal temperature, remove it from the oven and let it rest for at least 20-30 minutes. This allows the juices to redistribute, resulting in a moist and flavorful bird. During this time, you can prepare your sides, sauces, or just enjoy the savory aroma of your perfectly roasted turkey.
Optional: Grilled Turkey with Wolf Grills
If you want to take your turkey to the next level, consider grilling it with Wolf's powerful outdoor grills. Grilling turkey adds a smoky depth of flavor that you simply can’t get from an oven. For grilling, use indirect heat (with burners on either side and the turkey in the center) to cook the bird evenly, and don’t forget to monitor internal temperatures carefully.
With the right techniques and top-tier equipment like Sub-Zero refrigeration and Wolf cooking appliances, cooking a perfect turkey for your family and friends is well within your reach. These premium appliances allow you to control every aspect of the cooking process, from precise temperature management in the refrigerator to even heat distribution in the oven. The result? A turkey that is crisp on the outside, juicy on the inside, and bursting with flavor.
Now that you know how to roast a turkey like a pro, you can enjoy the process—and the feast—more than ever before. Happy cooking, and here’s to a memorable holiday meal!
Green Design Trend with BlueStar
View 365 Tour
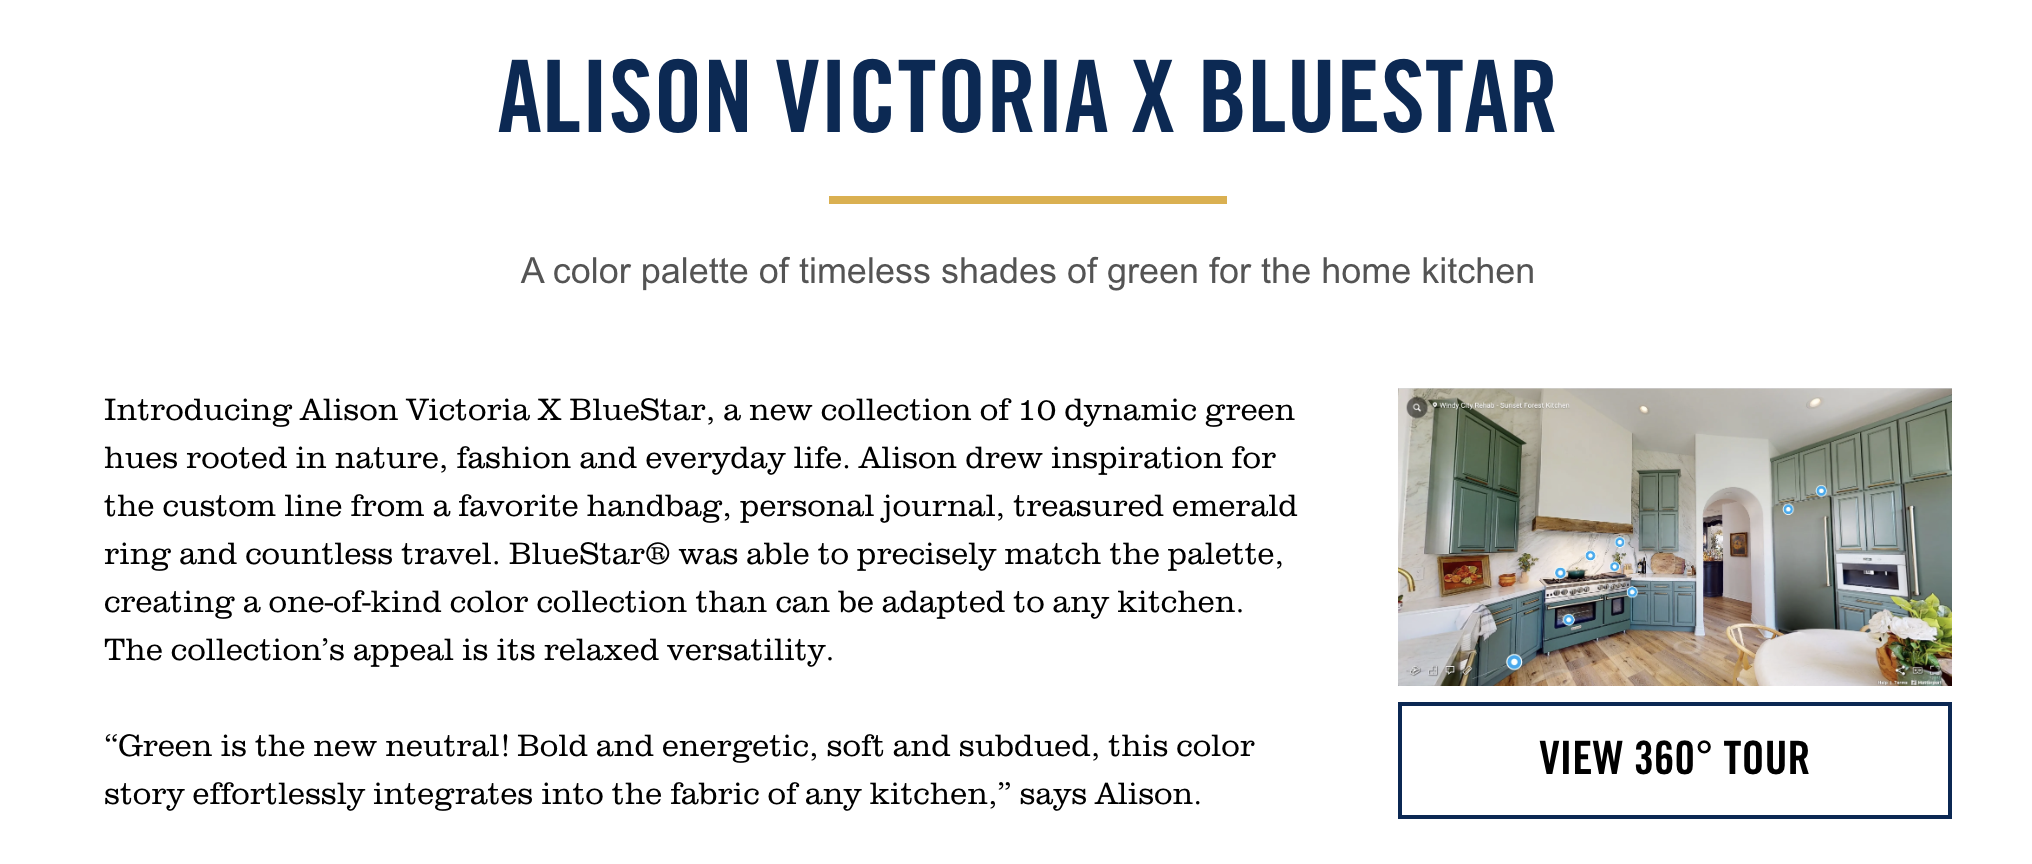
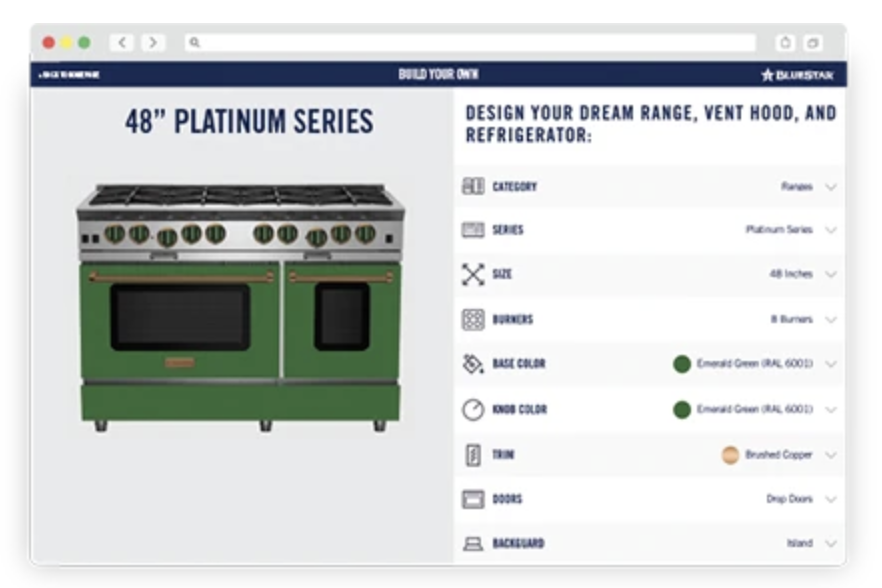
Green comes in so many different hues…from deep emerald jewels to blue-green teals, to leafy tones, to olive, to sage, and on. Alison customized 10 very distinct shades that can be used across many different materials. Apply to any BlueStar® range, wall oven, kitchen hood or refrigeration to create a lasting statement in your home kitchen. Pair these on-trend hues with brass trim, Alison’s finish of choice, for a luxurious look.
“Your kitchen should be timeless and should still look great 10 or 20 years from now. Hardscape pieces like large appliances need to be a neutral, and then be layer-able, so you can add in more trending accents with towels, rugs and hardware, which are easier to change.”
DESIGN YOUR OWN DREAM KITCHEN with bluestar cooking
What colors inspire you? Whether its greens, blues, or any of over 1,000+ colors and 10 metal trims you can design the kitchen of your dreams with the BlueStar Build Your Own app. Design your favorite appliances and get an instant quote.
Call us at 773-525-1797
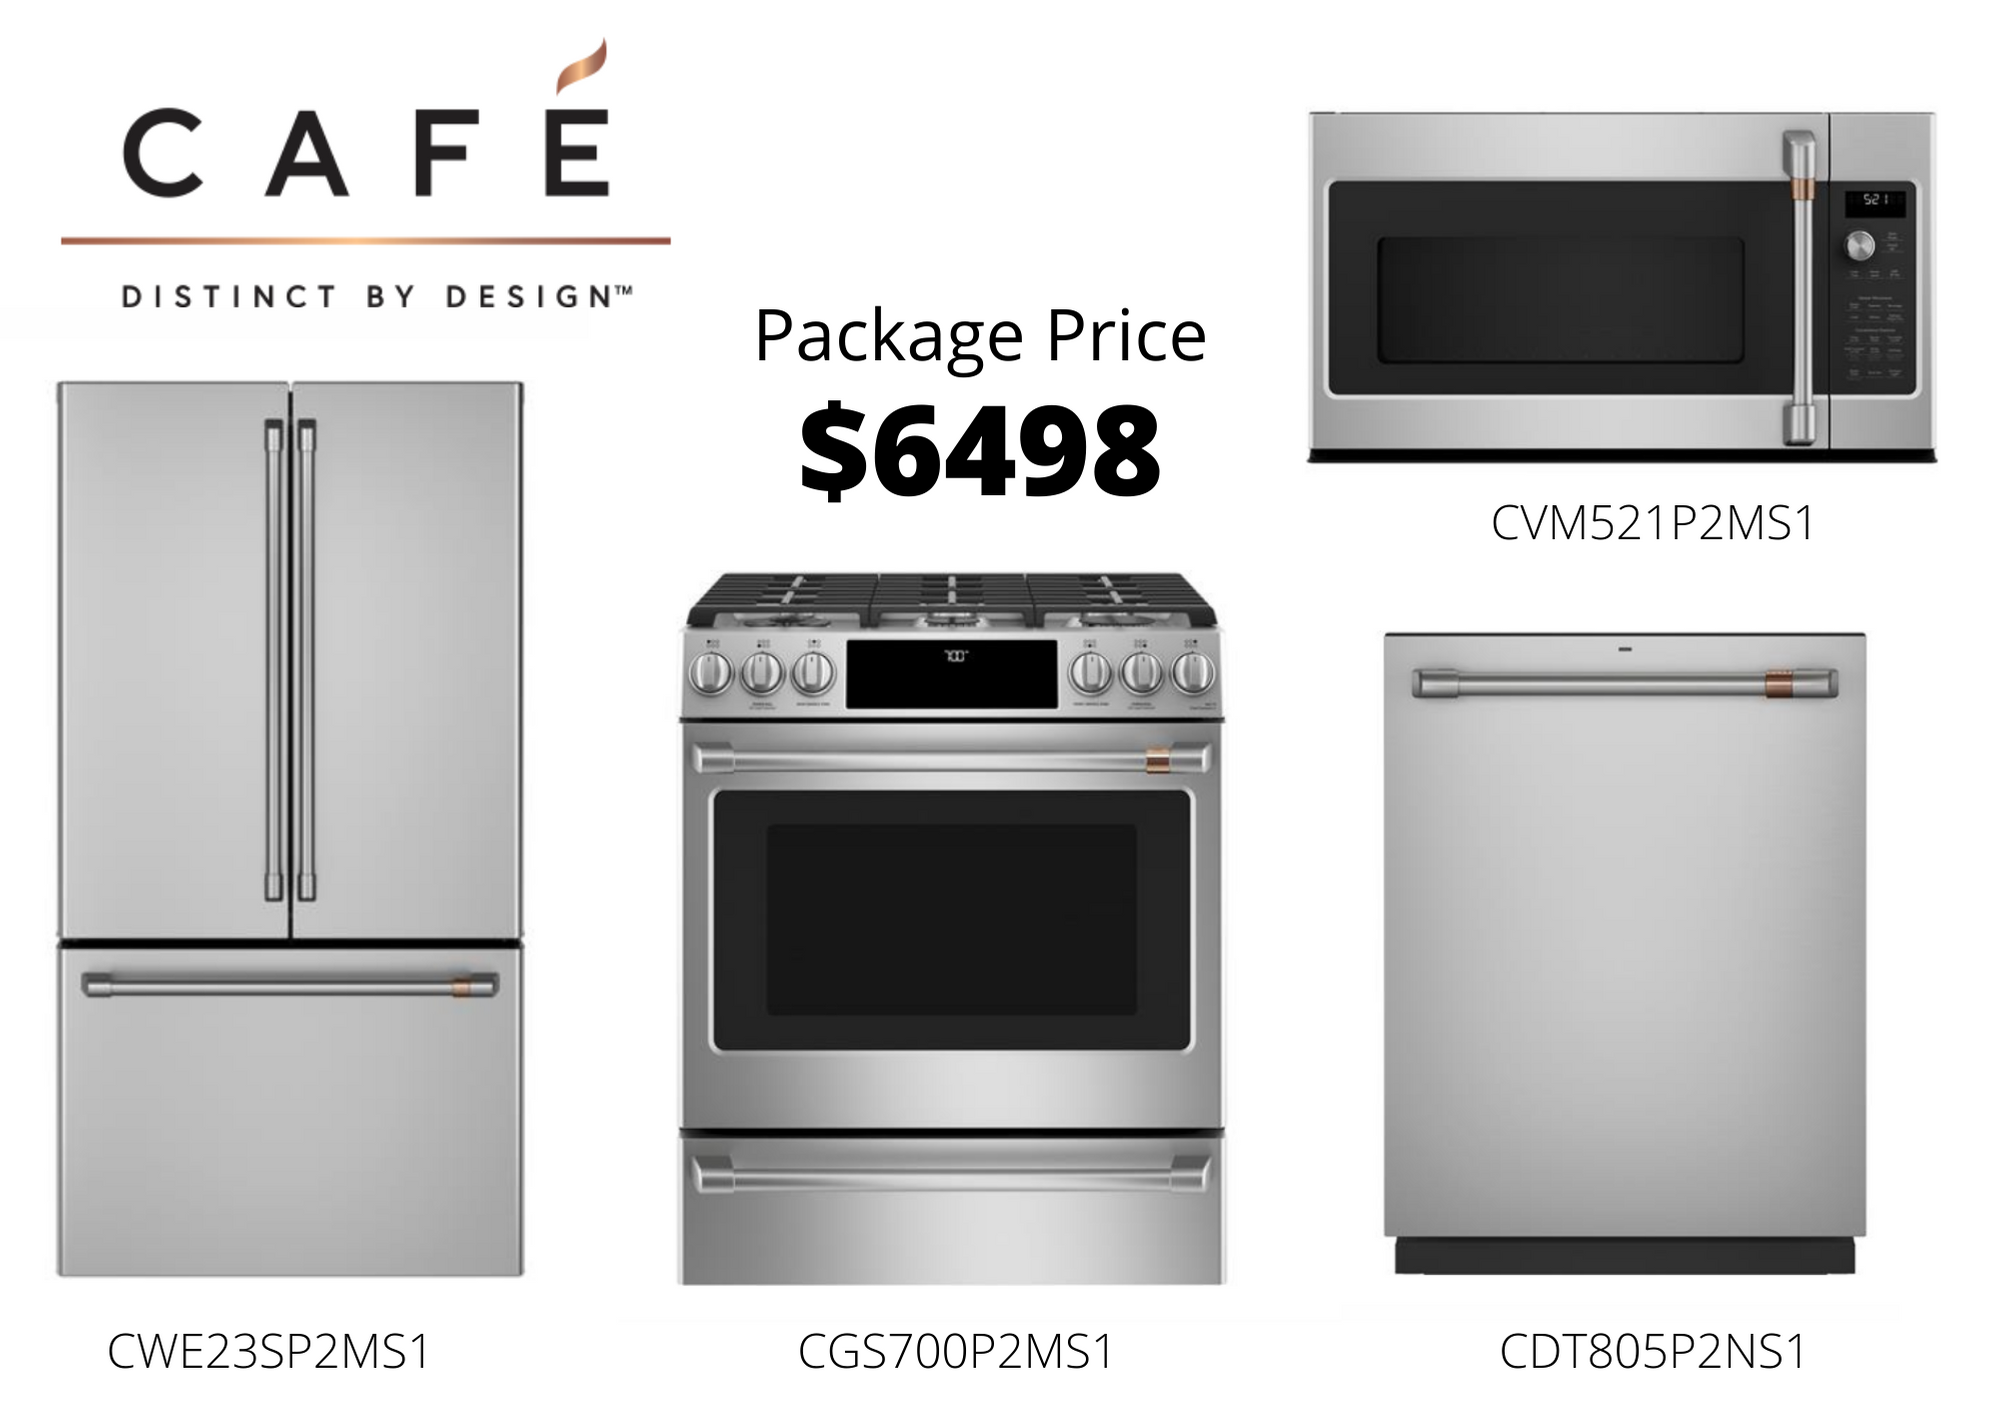
The Latest Kitchen Trend: Mixing Metals - GE Café Appliances
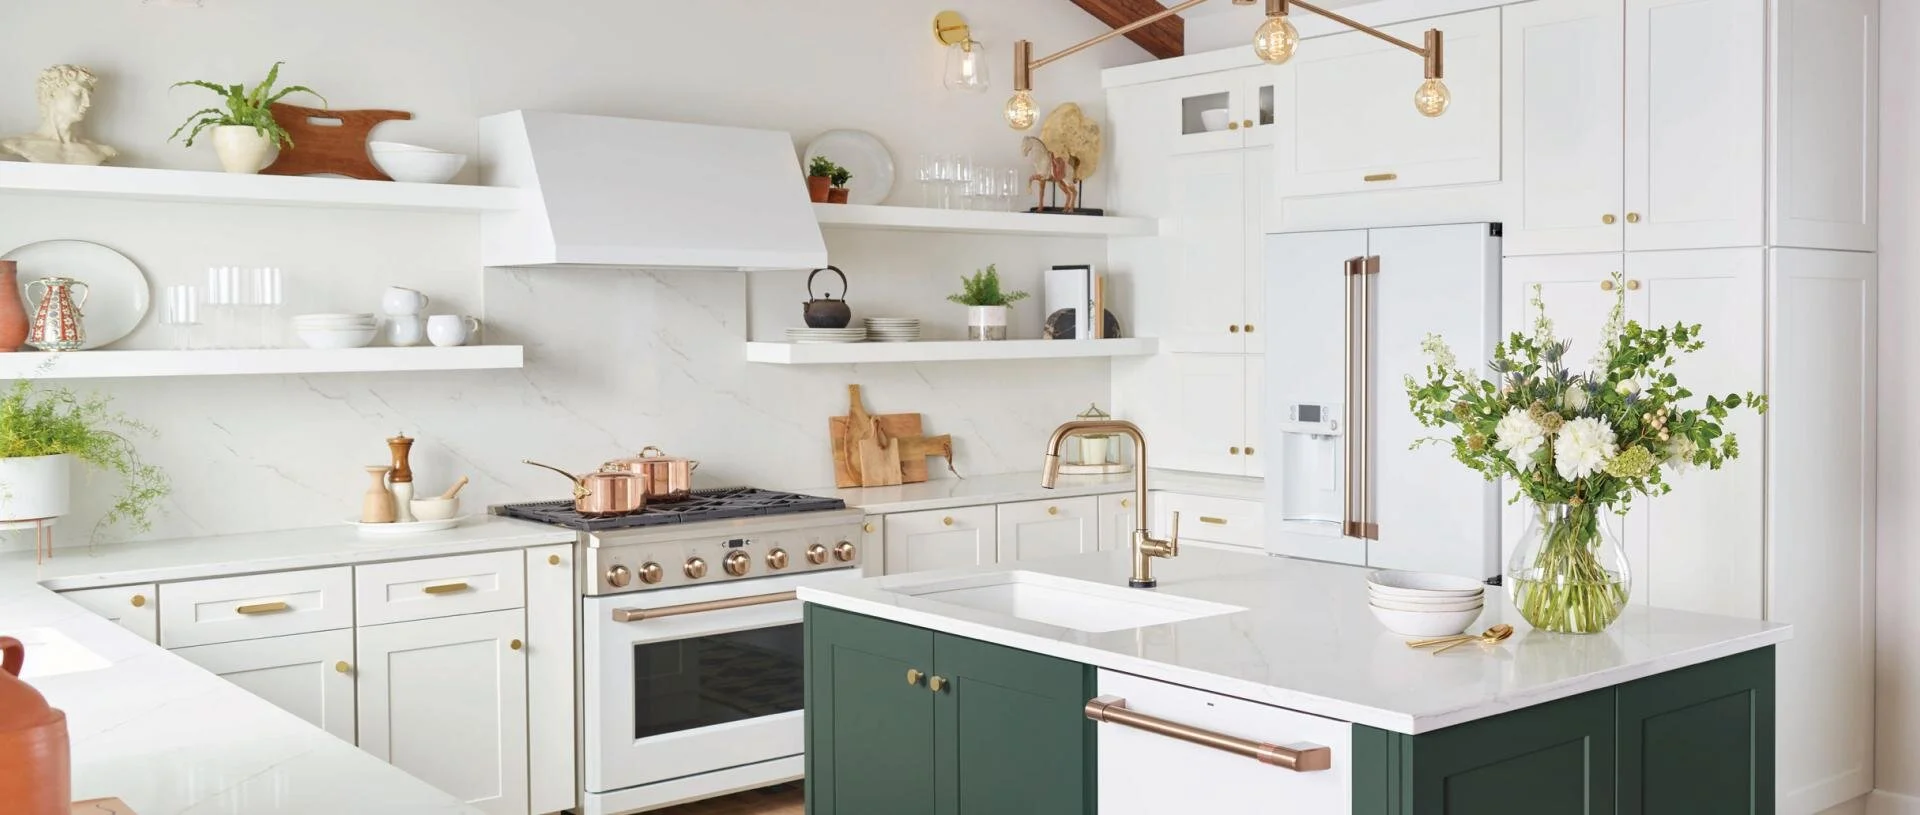
Gone are the days of matchy-matchy kitchen metals. Yes, it’s ok to mix metals in the kitchen—especially with hardware, lighting, fixtures, and appliances. Rules? There aren’t any hard and fast rules, but a few design suggestions will ensure you achieve balance and keep it from looking unintentional. Before you grab those brass candlesticks and that copper bowl, review our design tips to make your kitchen shine with your own personal style.
The Temperature of Your Palette
Are the base colors of your room warm, cool, or neutral? The metals you introduce into your kitchen can have a dramatic effect depending on the overall tone of your room. Think about the color temperature of your current kitchen space and what you may want to add to spice it up.
If you have a cool gray or blue kitchen with stainless appliances, a few gold or copper accents around the room can add needed warmth. Try adding brass light fixtures or change out your cabinet and appliance hardware with copper knobs. You’ll gain visual interest and balance out an otherwise seemingly cold room.
For a warm room with buttery yellows, adding brushed stainless appliance hardware and aluminum bar stools can cool it down and balance the kitchen space. A white neutral kitchen might need a mix of metals sprinkled across the room to create drama and visual appeal.
Photo by Carley Page Summers
Add Texture with Metal Accents
Metals can also bring in interesting depth and texture. Pewter and gunmetal drawer pulls and handles are understated, yet bring an aged feel to cabinetry. Pewter faucets are more matte, but have a more satin appearance. Bring in gunmetal light fixtures or other accents for a warmer, worn feel. These cooler, gray tones provide balance to warm kitchen colors. They also ground and lend visual substance to a lighter feeling, minimalist kitchen.
Choose a Dominant Metal
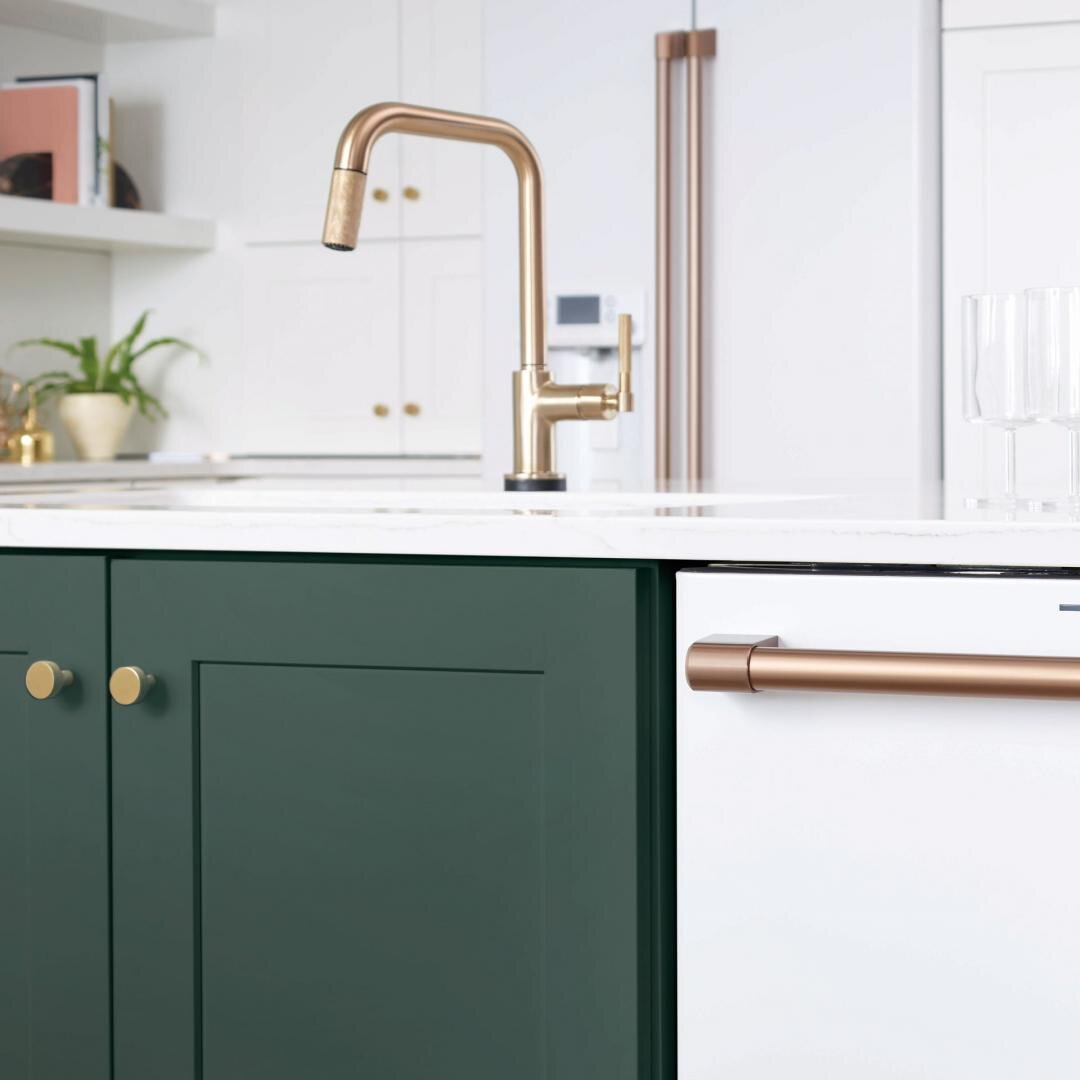
To keep your kitchen from looking overdone, choose a base or dominant metal first. Most likely, your cabinet and appliance hardware are in one set color. Add one or two other accent metals all around your kitchen. For example, if your room is filled with brass, adding one copper pitcher won’t cut it. Add several touches of copper in various places around the room so it looks intentional and well planned.
If your kitchen faucet is shiny stainless steel, you can even add some brushed metal pieces around. Play with metallic elements like picture frames, vases, spoon rests, and pendant lights in a variety of metals and with different textures. Just be sure to stick with one or two metals in addition to your dominant tone.
Bring in a Pop of Color with Metal
If your kitchen needs a punch of color, try adding a few bright, shiny metal accents around. Brass, copper, and shiny silver tone pieces can draw your eye to an area or just bring in a new color to a neutral room. Aged brass or copper with a patina can really bring in new colors, too. Mix shiny copper with some aged copper accents to keep the warmth but bring in interest.
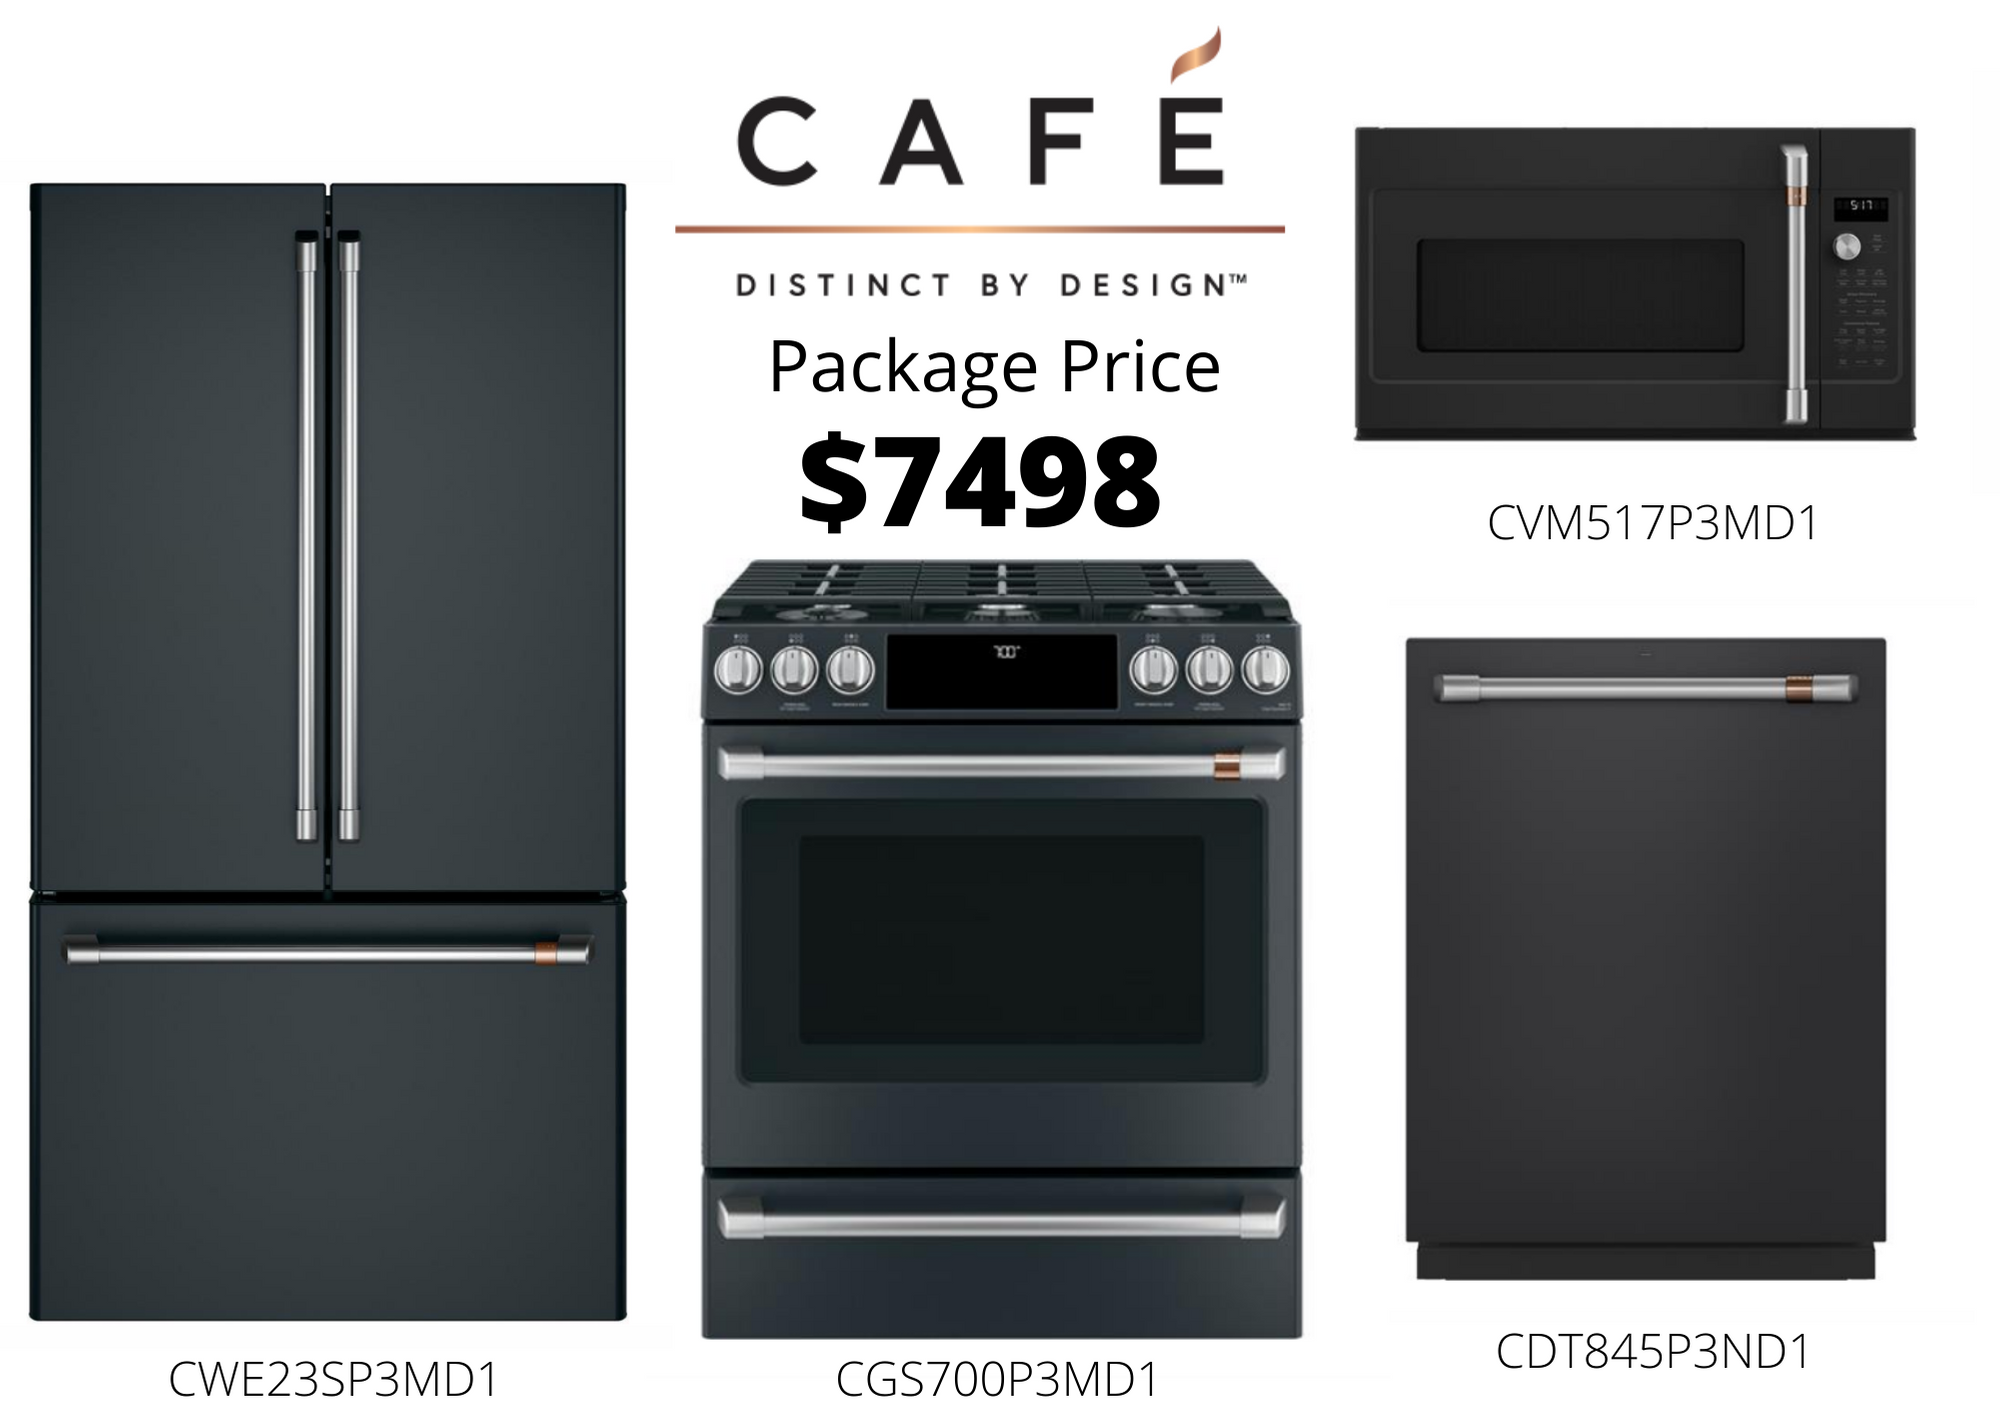
Don’t be afraid of mixing it up. You don’t have to just consider your cabinet hardware when you want to try out a new metal accent in your kitchen. The Café Matte Collection allows you to customize your kitchen appliances with a choice of additional hardware colors. Choose from Brushed Bronze, Brushed Copper, Brushed Stainless, and Brushed Black handles and knobs to create your own personal kitchen style.
SALE! Going on Now!
Best Kitchen Renovation Fisher & Paykel Brooklyn Brownstone
BROOKLYN BROWNSTONE
A Greek Revival townhouse in the historic Brooklyn neighborhood of Cobble Hill
took three years to complete. The owner is a cook and lifestyle writer, making the
kitchen central to the renovation.
THE FOOD STYLIST’S WORKROOM
The owner uses her own kitchen as a stage for developing and shooting stories, and needed products and technologies that would deliver perfect results, were configured to support her work, and that wouldn’t compromise on looks. This kitchen is designed to create highlights, with Professional-style appliances taking center stage while the remaining appliances are integrated for a seamless look.
RESTORATION, CUSTOMIZATION
The townhouse had been converted to separate apartments, so much of the original detailing had been removed. However, the owner salvaged as much as she could, including the original mantelpieces and the ornamental medallion in the living room ceiling.
The owners customized the space with ceiling speakers and by demolishing walls in the ground-floor living area to create a completely open space for entertaining. They opened up the kitchen walls with bi-fold glass doors leading into the terrace beyond, generating a flow between the inside and out that’s unusual in a New York City home.
CONSIDERED LAYOUT
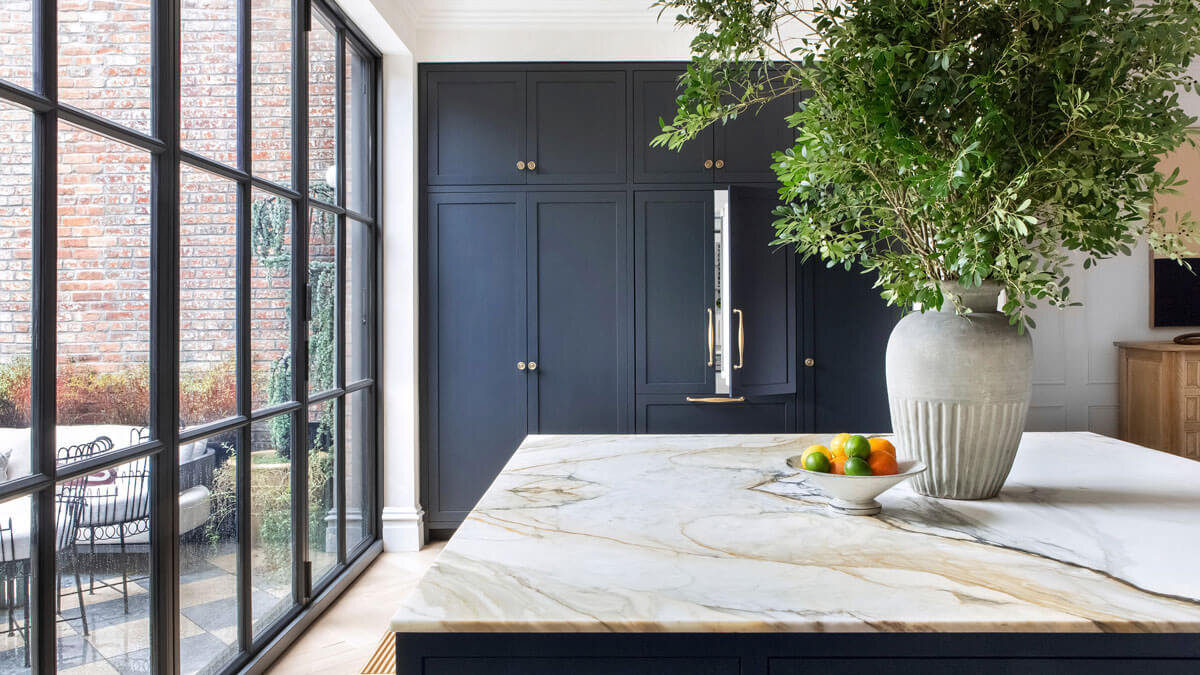
The layout of the kitchen also considered the owner's work with natural light entering from the side, while incorporating a square island rather than a rectangular one as a more useful base for food photography. A strikingly simple backdrop was chosen – Calacatta Paonazzo marble countertops above gray cabinetry, and open shelving that runs the width of the space.
DUAL-FUEL RANGE ON SHOW
The French Door Refrigerator, CoolDrawer™ and a Double DishDrawer™ Dishwasher are integrated into the cabinetry, allowing the robust Dual Fuel Range to take the starring role. Out on the terrace a high-performance DCS Grill with a rotisserie mirrors this focus on cooking. The bulk of the storage is contained below eye-level in the cabinets and island, maintaining a light, airy feel.
